28 February 2025
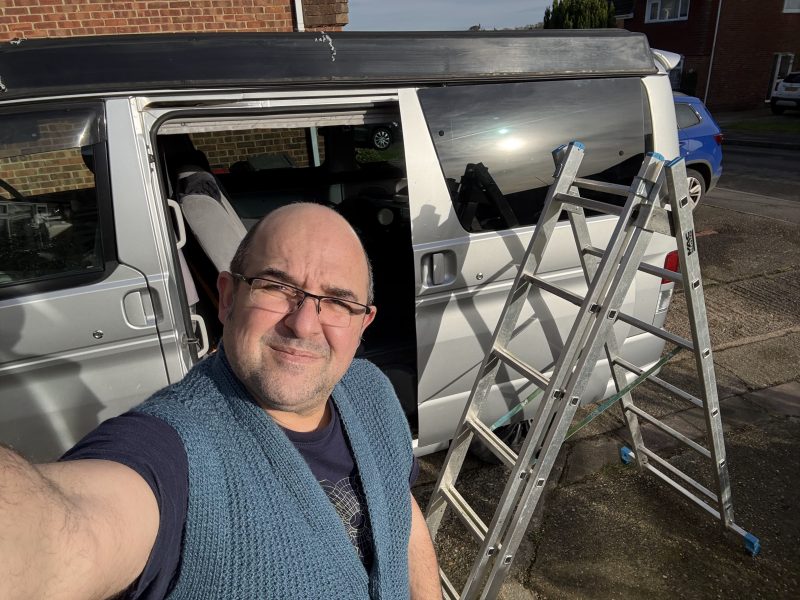
The weather finally improved enough for us to start working on our Bongo. In the meantime, I did plenty of research and gathered all the materials we might need.
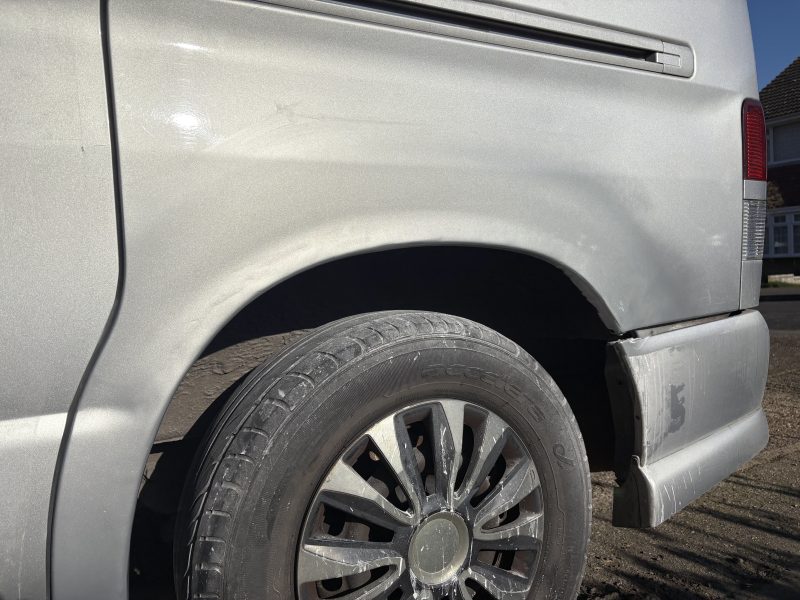
First task: repair the small rust patches before they get any worse over time.
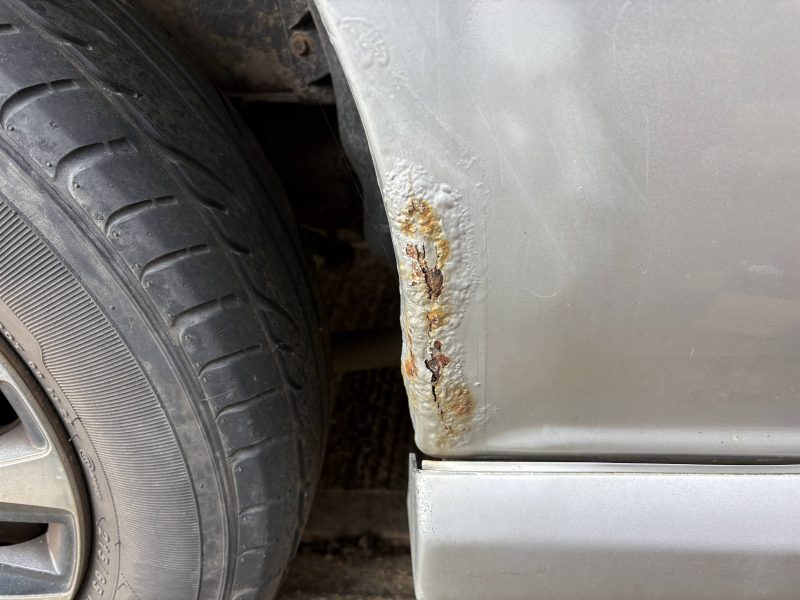
This was the largest visible paint bubble on the van — around 8–10 cm. I thought it would be a quick fix, so I started scraping the paint… and then…
It turned out the problem wasn’t as small as I had hoped 🙂
Even tiny 1–2 mm bubbles turned into 3–4 cm holes once I scraped the paint away.

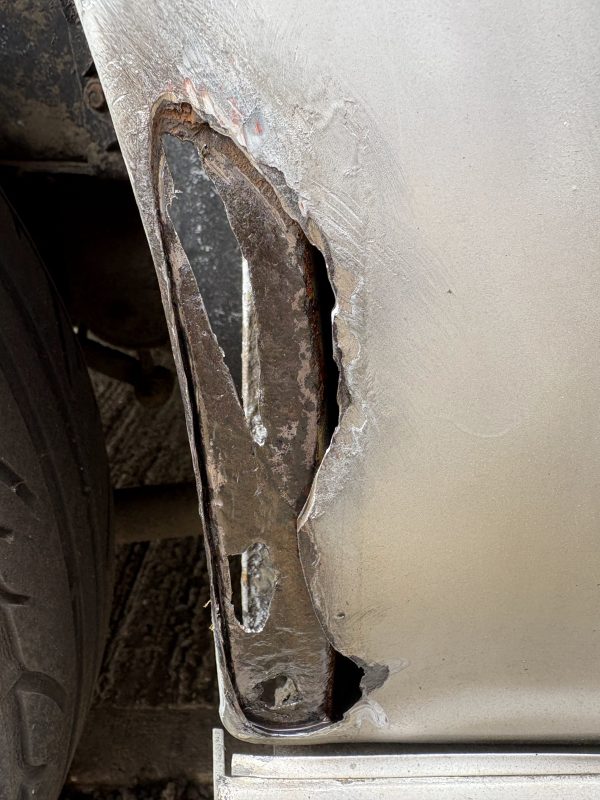
First, I reinforced the holes with aluminium mesh. This acts as a base for the filler, which is a mix of polyester resin and fibreglass strands.

Once the coarse filler dried, I sanded it and applied a finer layer.

This is what it looked like after sanding — ready for paint. I know it’s not a perfect finish, but this is my first time trying something like this. I expect I’ll have to do it again at some point, so I’m deliberately avoiding wasting time chasing flawless results.
As someone once said (I wish I remembered who):
“Give me your third-best — the second-best takes too long, and perfection takes forever.”
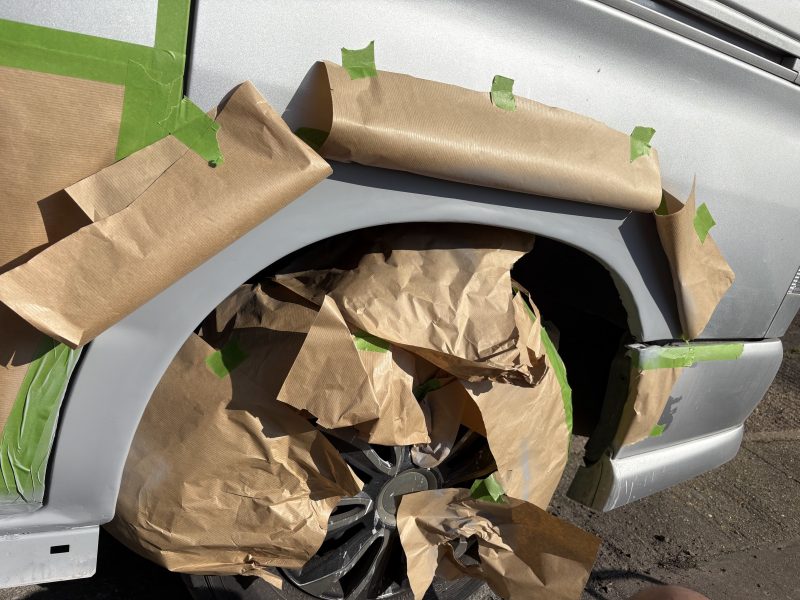
To avoid creating harsh edges when spraying paint and lacquer, I used a trick I saw on YouTube. Curling the edge of the masking paper gives a much softer transition for the spray.
I used spray bottles matched to the van’s original paint code, followed by clear coat.
The result is shown above. Unfortunately, even though the colour code matches, the metallic particles in spray paint don’t align the same way they do in the factory — which a friend warned me about. For a proper metallic finish, you really need to paint the entire panel, which is beyond my skill level (and not possible with rattle cans).
That said, the mismatch is barely noticeable unless you’re in direct sunlight.