3 April 2025
The weather in Canterbury looked promising this week, so I took the plunge and removed the roof to begin repairs. A good friend of mine had already helped straighten the bent stainless steel roof scissor mechanism.
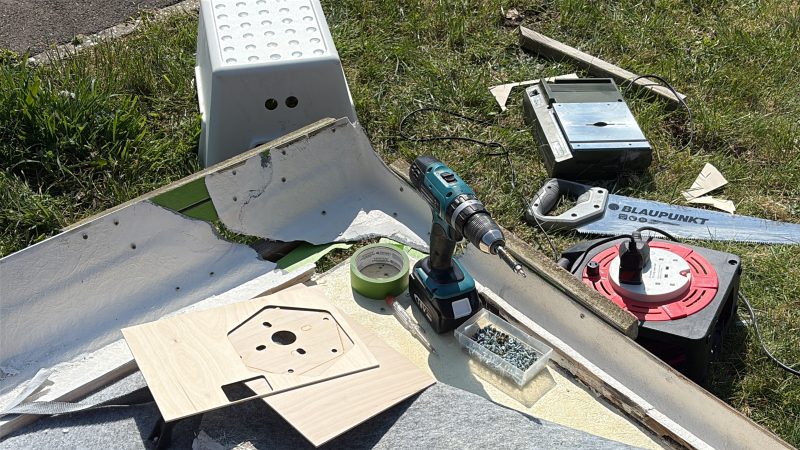
For the repairs, I used a 2-litre fibreglass repair kit — it came with fibreglass fabric, polyester resin, and the required hardener.

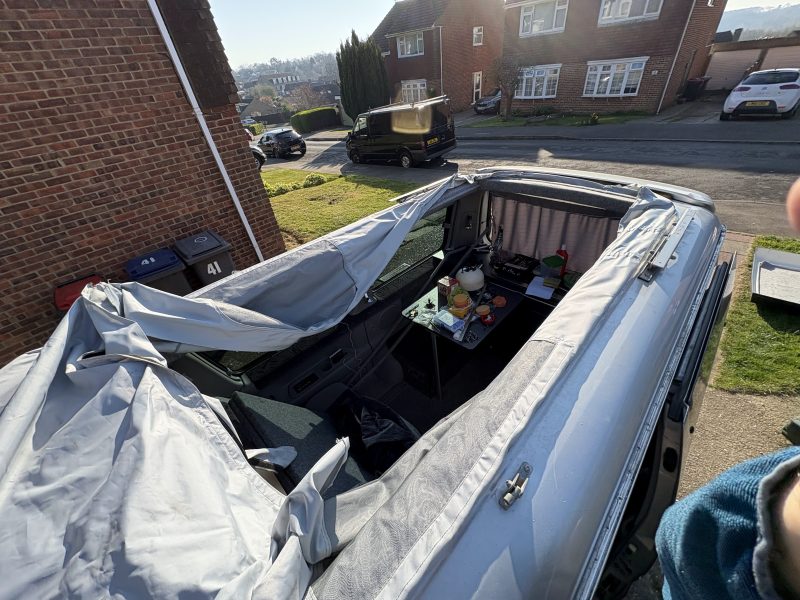
I started by grinding away the shredded 30×30 cm section at the edge of the fibreglass roof using an angle grinder. Of course, this opened up even more gaps in the damaged areas. I covered the underside of the holes with masking tape and added some timber support blocks to hold the fibreglass layers in place as they cured.
The final state before repairs began.

There were seven cracked areas in total on the roof, which I patched using 4–5 layers of fibreglass each. Since each layer takes around 20 minutes to cure, I worked in a clockwise pattern around the roof — mixing small batches of resin and patching one crack at a time. This method meant I wasn’t sitting around waiting; instead, I was always working on the next area. The job was done in a single day.

Before painting, I sanded the entire repaired surface to prepare it properly.
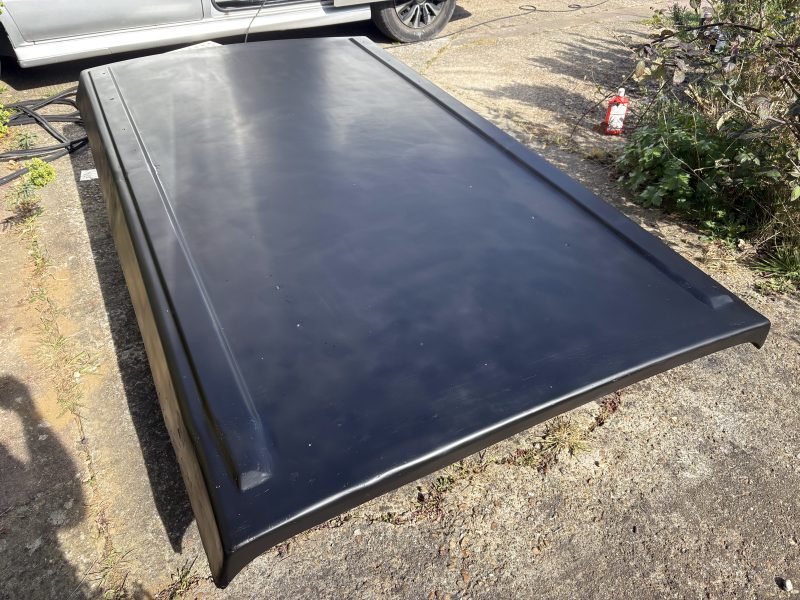
I finished with a coat of matte black automotive paint. It’s far from perfect, but for a DIY job, I think it’s acceptable. I’ll share a mistake I made at this stage: I didn’t properly sand and degrease the areas that weren’t damaged. Because of that, some of the paint on the previously intact surfaces started peeling off a few days later.
Lesson learned — always prepare every surface with the same care before painting.

And here’s the result!
We finally have a fully sealed and sturdy pop-top roof again.